I belong to a fabulous Facebook group called Linocut Friends: a very talented and generous group of people, always encouraging newbies and sharing new tips and tricks. Well, recently it was discovered by one of our members, that a little die-cut machine called the XcutXpress works very well as a small tabletop press! In the following (rather lengthy) step-by-step, I share my very positive experience with it! (links at the end)
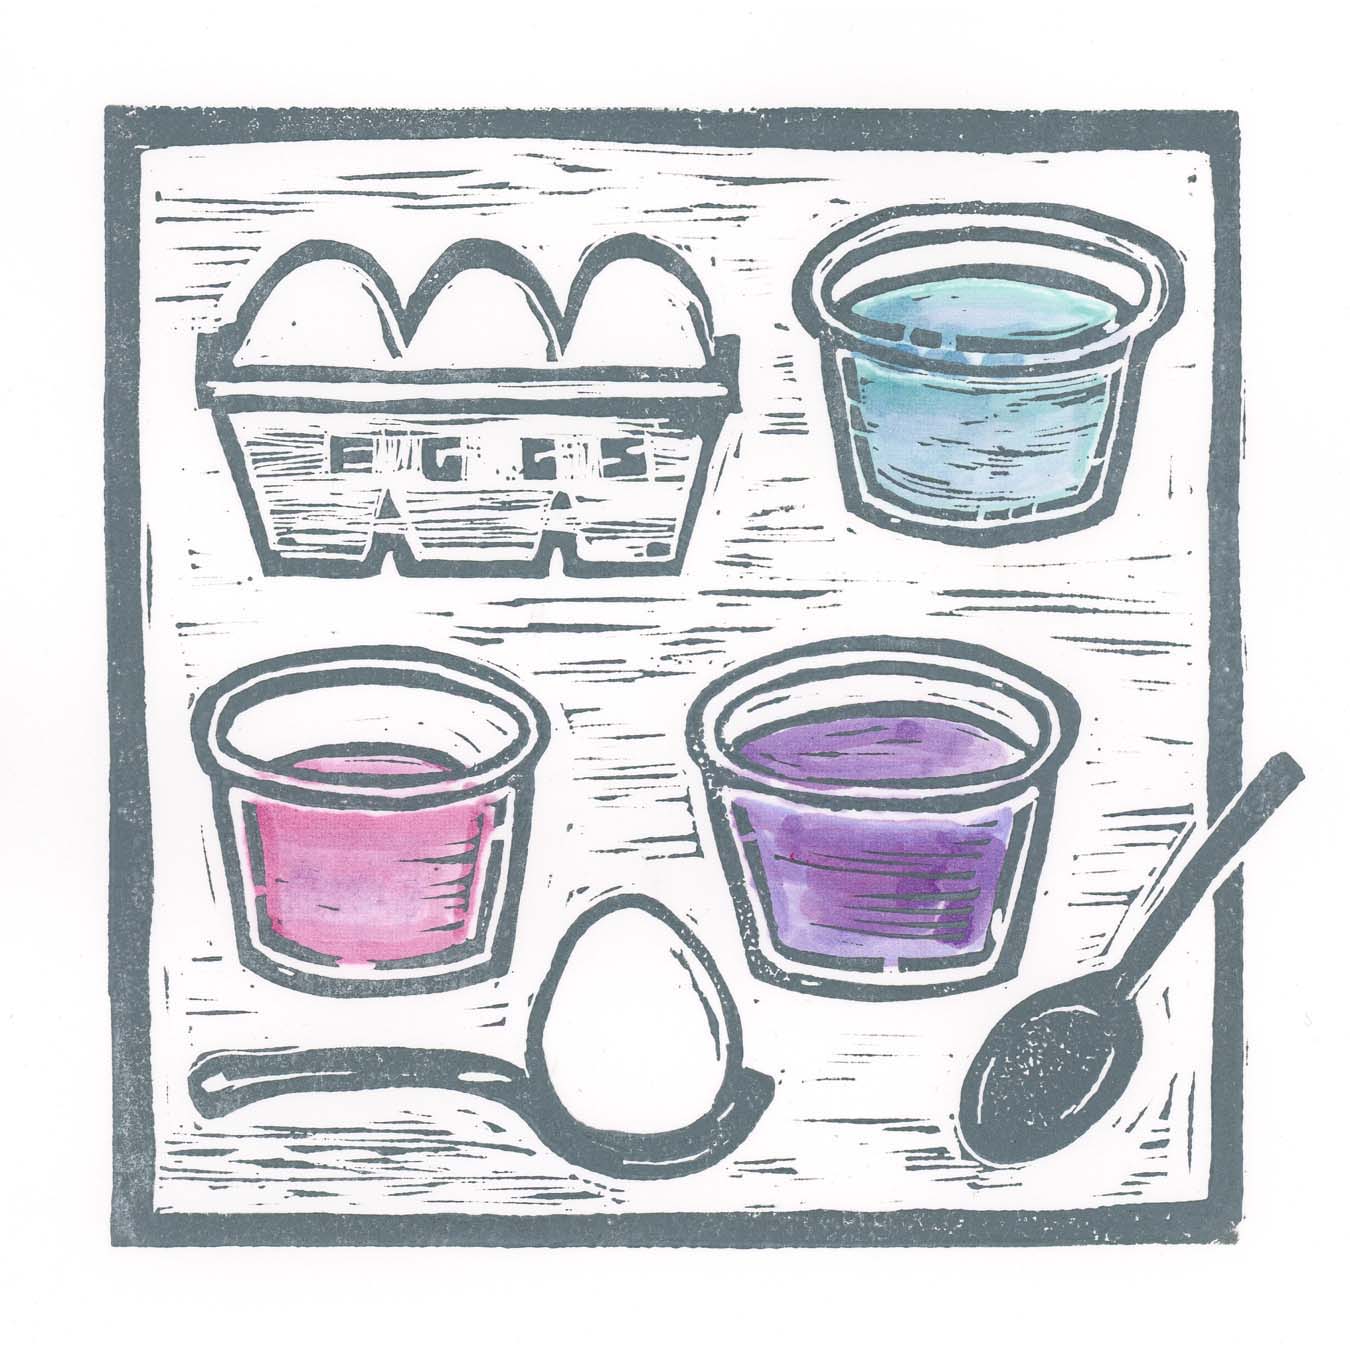
 For years, I've been enthralled with pysanky, the art of wax-resist egg dyeing used by Ukrainians on their Easter eggs. Some examples have a lovely simplicity, while others are exquisitely ornate. I even bought a pysanky kit years ago, but was quite intimidated by it. I recently decided to do my own humble little version of pysanky on this reduction linocut of an Easter egg, using repeated motifs, etc.
It took quite a few sketches to get to this first stage on tracing paper...I was going for natural elements (sky to earth) and trying to create some interesting patterns.

I used these wonderful mounted lino blocks from McClain's. The lino cuts like butter and you can order it mounted—the fabulous thing about this mounting is that they set the lino in a bit from the edge. so you can grab it while inking and printing without touching inky edges, etc.!
I used these wonderful mounted lino blocks from McClain's. The lino cuts like butter and you can order it mounted—the fabulous thing about this mounting is that they set the lino in a bit from the edge. so you can grab it while inking and printing without touching inky edges!
Because I wanted that repetitive pattern to be almost abstract in its shapes, (and being fairly proficient in Adobe Illustrator from my days as a graphic designer), I then "drew" it in Illustrator. This is also a great way to explore color choices, line thicknesses etc. And, especially when you're planning a reduction print, it really helps to plan the whole process in Illustrator or Photoshop, where you can separate out layers, etc. I wanted a really accurate transfer to the lino block, so instead of using tracing paper, I printed it on my laser printer and placed it face down on the lino and ironed the back with a warm iron. It took a few tries but it did work! And the toner residue didn't create any problems with inking later.
(And before we go further, I want to mention that I rather like the occasional stray mark here and there on a linocut print. I am not striving for perfection here. Good thing, huh?)

Some of these are be out of chronological order, as I want to show the printer set-up at this point. I won't go into elaborate detail about the printer itself, as others have done that much more thoroughly, but I will share a few initial points of interest:
The prices are already climbing. I got the last one on Home Shopping Network a couple of weeks ago at $99.99 plus tax and shipping. They're more than that now, but still WAY below the price of a tabletop etching press.
It may look like a plastic handbag in the photos, when it's folded up, but it's actually quite sturdy and heavy.
You're limited to prints that are 8.5"wide.
Adjusting the pressure knob on top is everything. Play with different settings and papers before you do any "real" printing. This is a quick shot I took of my initial "play" session when I unboxed it last week:


To keep the block in place, and to keep the rollers from having to go up and down over the block, I made a frame out of balsa pieces from the art supply store, cut to the desired lengths and affixed to the bases with foam tape. (I used the shallower "cutting pad" of the 2 bases that come with the machine, so that the overall height would fit through the press.)
Jumping a bit forward, this photo shows the last layer set-up (I had a few prints on longer paper, so I added a balsa block above the lino.) This also shows my new Ternes-Burton pins: I don't know why I EVER tried to register any other way. Period.

So, back to the first layer: I cut out everything that would remain white (the paper color), and printed the yellow layer.

I used Caligo Safewash Relief inks. Yes, they dry slowly, but nicer ink makes a huge difference, and it really takes a very thin layer of ink to get full coverage. I own the 3 process colors, (which are a bit transparent) and their opaque white. If mixing colors isn't your thing, they have a lovely selection. Nicer gouges (I received these Pfeil gouges for Christmas) make a huge difference too. Pricey, yes, but I figure they more than pay for themselves: I didn't have one throwaway print in the bunch!
The tabs from the Ternes-Burton system make it easy to hang the prints to dry, using string and paper clips. I waited 3 days between layers on this project.

Next, I carved away everything that would remain as yellow, and printed the blue-green. I never get tired of lifting that paper and seeing the result!

I didn't take a photo (sorry!) of my "sandwich" as I ran it thru the press. I would attach the paper's tabs to the pins, lift it up, slide the block in, lower the paper and lay the felt on top.


Time to carve the last layer (an almost-black blue-green).

Because it was pretty detailed, I needed to use tracing paper and a graphite stick to check my work as I went.


And here they are! Not a bad one in the bunch....I mean, edition, of 14.
* * * * *
Paper: I sampled a number of different papers on this project; in a future post, I will share my thoughts on their performance.
* * * * *
Feel free to leave any questions in the comments—I know that this was a very quick overview of this process; here are a few very helpful links:
Watch videos by Colin Blanchard: the "pioneer" in linocut printing on an Xcut:
https://youtu.be/oRmAgpzslnU
https://youtu.be/pbgT_Xjyoz4
The machine:
https://www.amazon.com/docrafts-Xcut-Xpress-Die-Cutting-Machine/dp/B00GFM3NII
The carving tools (I have Set C):
http://www.pfeiltools.com/en/products/linoleum-an-block-cutters/set-of-6-linoleum-and-block-cutters.html
The lino block I used:
http://www.imcclains.com/catalog/blocks/linocut.html
The ink I used:
http://www.imcclains.com/catalog/ink/Caligointro.html
Ternes-Burton registration pins and tabs
https://www.ternesburton.com/